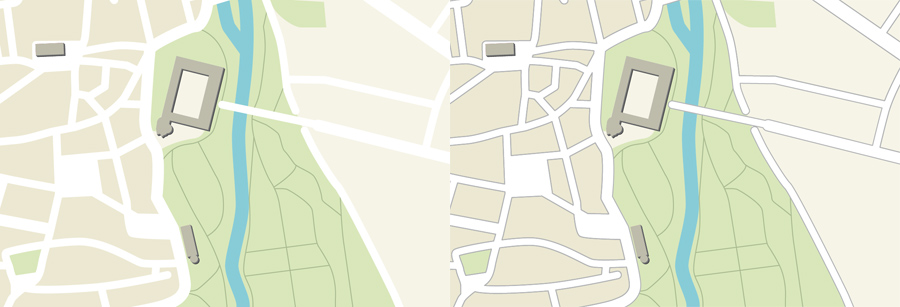
The Google Maps effect in Adobe Illustrator
The simple and effective way how to automatically merge and outline streets in maps drawn in Adobe Illustrator.

Drawing maps is a typical job of graphic designers and pretty much every designers knows how to do it. But not every map looks equally convincing. I always liked this special effect of online mapping services like Google Maps or OpenStreetMap, where roads are outlined but still reveal their connections. But this effect is not as often used for vector maps drawn in vector illustration apps like Illustrator. Maybe that is because there is no direct option which would allow the user to “outline an outline”.
I checked a lot of online mapping tutorials, but the ones which mentioned this effect recommended rather cumbersome methods to achieve it. Mostly they required an additional step, like combining all paths to one object or copying all paths to another layer and style those paths individually. But that would make later changes to the maps much harder or even impossible. More creative solutions used layer transparency settings so the overlaying outlines would knock each other out or simply cover the unwanted overlaps with even more outlines laid on top with layer styles …
But all these methods are work-arounds and have their flaws. What we really want, is that Illustrator would take all our streets (usually drawn as outlines) and squares (usually drawn as fills), merge them together dynamically and draw an outline around it. And guess what, that’s actually possible and pretty easy to achieve — all we need to to is to combine two layer effects01.

An here is how you do it:
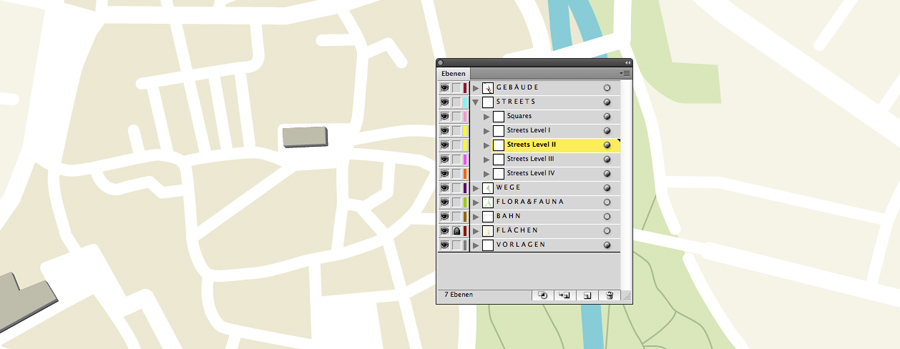
First, draw your streets and put them on a layer. If you have different kinds of roads, I would recommend to put each category on one separate layer. This makes styling, editing and selecting much easier. In every layer where you used outlines (e.g. all street layers), open the Appearance panel and add an effect: Path → Outline Stroke.
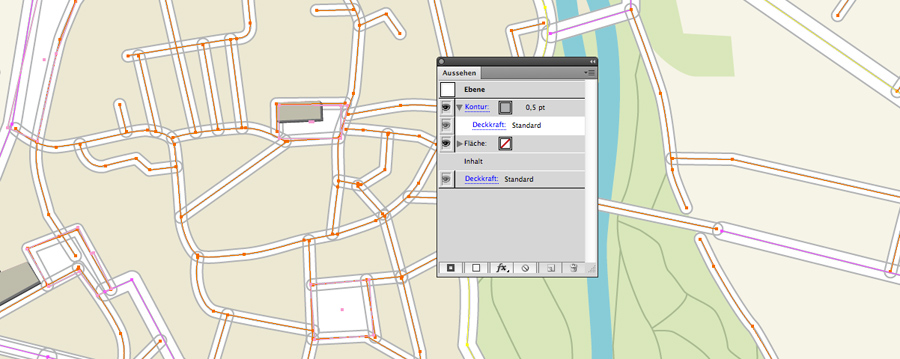
Now assign all these layers to a parent layer. This new layer will be used to create the outline around all objects in the child layers. Click on the circle beside the name of our parent layer in the Layer panel. Now you can add a new outline as layer style in the Appearance panel which will be applied to the outlines of all objects on our child layers. In this case, this even works for strokes, since we have applied the “Outline Stroke effect” before, which basically turns all outlines dynamically to filled objects. Your map should look something like this …

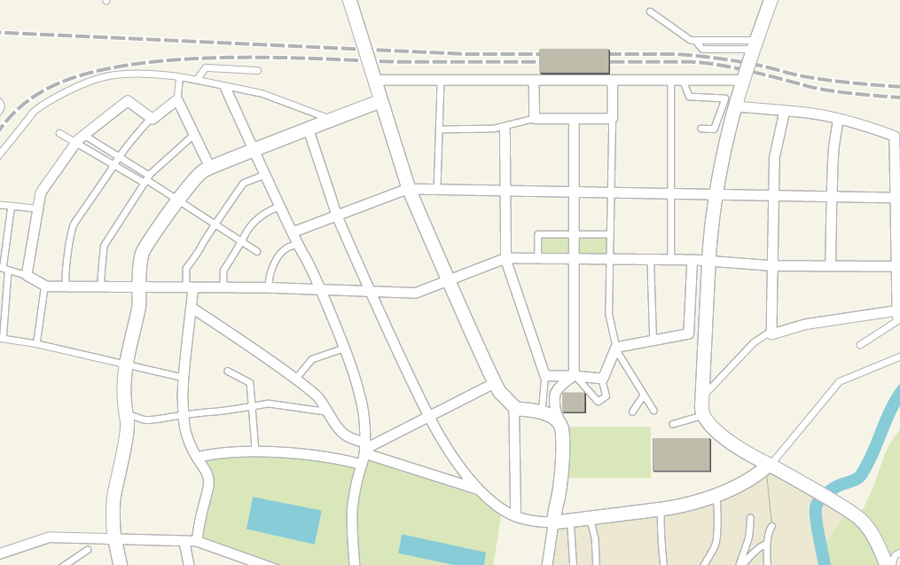
All objects have the outlines we want, but they are not merged yet. So still in the Appearance settings of our container layer, we add another effect: Pathfinder → Merge. And that’s it! All overlapping objects from all child layers will dynamically be merged together and outlined with an additional stroke. And all objects remain fully editable and you can continue to work in a true WYSIWYG mode.

- via http://www.vektorgarten.de/tipps-konstruktion.html#gemeinsamekontur [↩]
Good idea to outline this problem. There is an issue is that you can not work non destructively unless you keep a copy of the illustration before expanding and merging the lines.
Just to be clear: the method described above is fully non-destructive as long as the effects are applied as decribed via the Appearance panel.
Nice tip. I do something like this already, although this is actually a cleaner approach. I use the Appearance panel and layer styles a lot, but often overlook particular effects. Most approaches still hark back to the old days, when they were the only option. This demonstartes that you always need to get on top of new releases of software to ensure you work smarter. Thanks for posting.
wow… that has just revolutionised my workflow.
thank you
Very nice way to do this. I have actually used slightly different way to do this:
Make different kinds of roads in the Appearance panel with two strokes. 3pt white/4pt black beneath; 5pt/6pt.. etc.
Drag the symbol from the upper left corner of the Appearance panel to the Graphic Styles panel and give each a describing name.
Apply the graphic styles to your road lines.
When you are ready to go select all the roads in the same layer (use copy so you have the working layers for safe keeping) and do: Object>Compound Path>Make (or Cmd+8).
If you make road drawings often the Graphic Styles come in handy. You can load your previous styles directly into the Graphic Styles panel from another .ai file or save a set to the gs library. See the fly-out panel: Load …